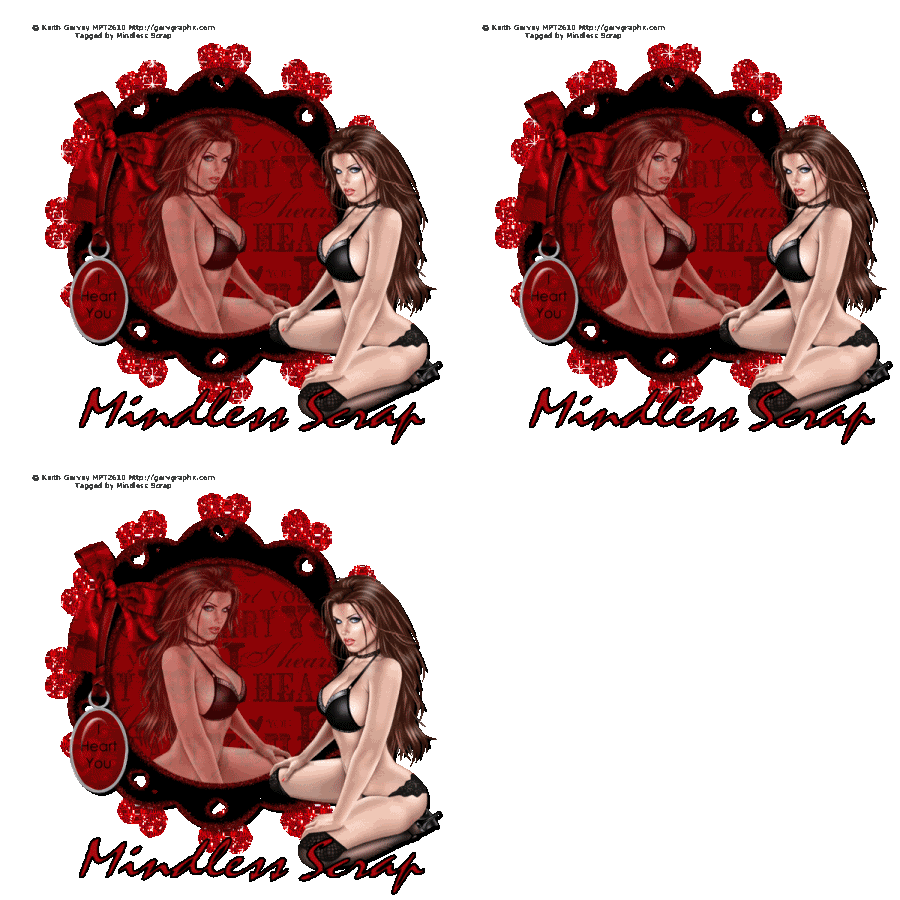
A Pin Up Tutorial

I'm generally not the pin up type, but what the heck. That was the lesson, and besides, DH was getting a kick out of this one. ;)
This lesson was MUCH harder than the last. Sheesh. I really struggled through parts of it. But then, other parts became easier. I finally worked with a kit. And I did some techniques (like masks) that were completely foreign to me. It was kinda cool. I'd definitely do this again. And next time will go a little easier because some things have been learned.
I felt like such an idiot, searching all over for the "magic wand." Doh! I guess it pays to actually play with some of these tools before tackling such a project, huh? I was rather proud of myself for getting the mask done properly. But I really had a time of it with the "paste as selected" feature. I was trying to accomplish pasting the pinup into the mirror, and it kept distorting the image terribly. I finally gave up and copied and pasted it my own way, with a bit of erasing. Perhaps not the most ideal way to do it, but it got the job done. I guess I should ask about that one in my tutorial group. Or maybe I'll try a different scrapper's tutorial, and see if that's any easier to understand. I just hate being the ingorant freshman in the back row.
Sr. Mary Elephant: "Okay class, does anyone have any questions? Yes, the freshman in the back."
Freshman: "I don't get it!"
Sr. Mary Elephant: "Shut. Up."
Okay, that's probably not verbatim, (and my apologies to Cheech and Chong), but you get the idea.
Anyway, I thought I did okay in spite of myself on the tutorial. I didn't do the glitter around the frame, for a couple of reasons. Mainly it was because I had no idea how to use plug ins yet. And I have no idea how to operate Animation Shop. (I just bought that, too.) And on top of it all, the tutorial called for a plug in that I don't know if I can get anymore. So I thought it best that I hold off on that for now. This is, after all, only the second time I've even used this program.
You can click on the picture above to see a larger version.
(The signature at the bottom of this was altered. The original has my name on it, which is very short, and fit in the lower left corner, in the white space. For this example, the names have been changed to protect the kinda innocent.) ;)
P.S. For those of you who have never met me, yes, I really do look like that.
bwahahahahaha!
Tutorial Used: https://sites.google.com/site/shazdesigns/i-heart-you
.
This is very intriquing...having not done anything 'digital' or knowing anything about it all- this is neat to see! I BET DH was getting a kick out of that one! Look forward to seeing more of your 'freshman';} work! Love the lace and you (cool you!)
ReplyDelete